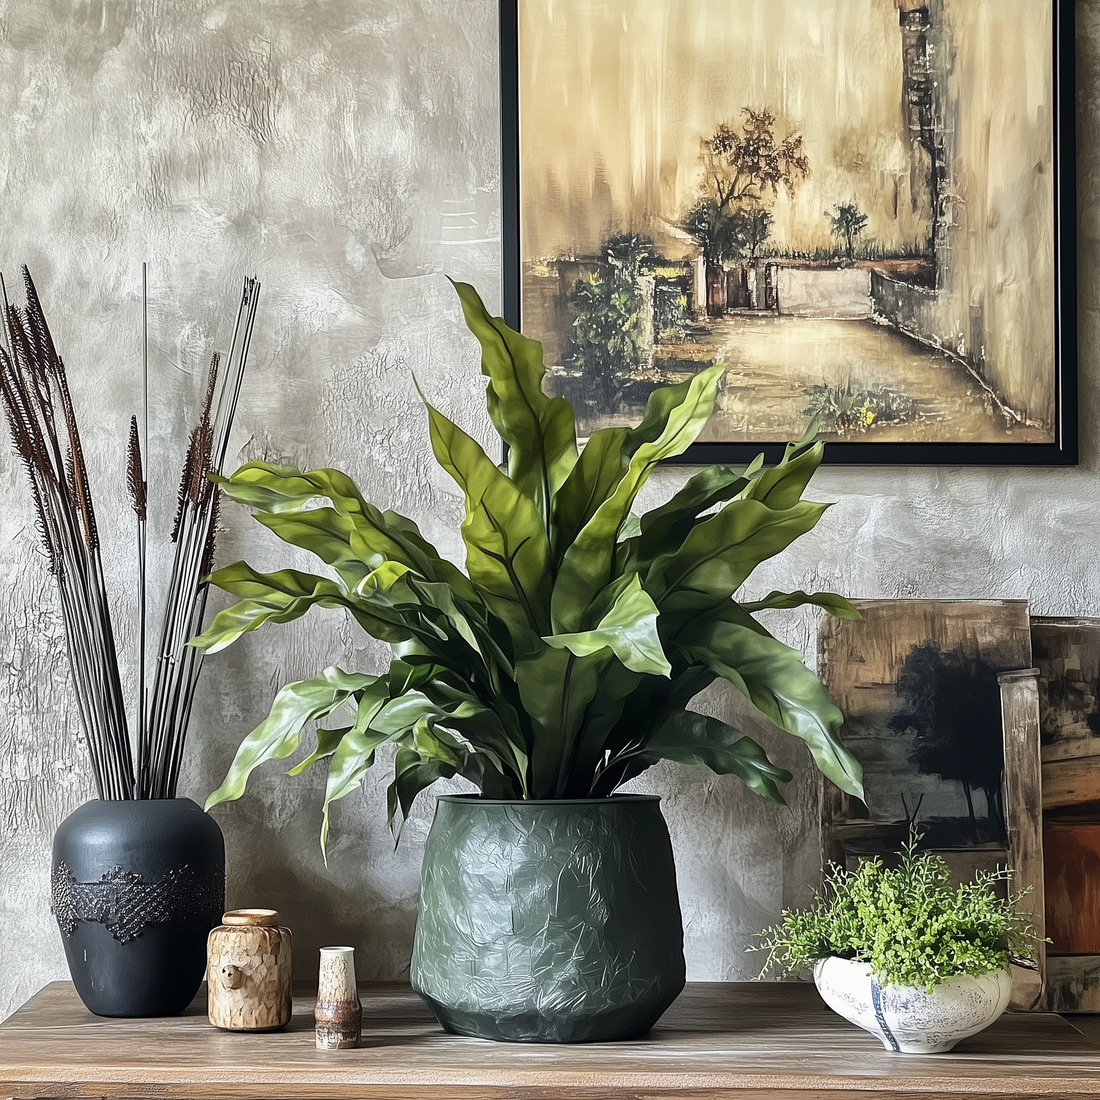
Crested Japanese Bird's Nest Fern Care Guide: Expert Tips for Lush, Healthy Growth
Compartir
Introduction:
The Crested Japanese Bird's Nest Fern (Asplenium nidus) is an elegant houseplant known for its unique, ruffled fronds that arch gracefully from the center, creating a striking nest-like appearance. Whether you’re a seasoned indoor gardener or a beginner, this care guide will provide you with all the essential steps to help your fern thrive.
Overview of the Crested Japanese Bird's Nest Fern
- Scientific Name: Asplenium nidus
- Common Names: Bird's Nest Fern, Crested Fern
- Native Habitat: Tropical rainforests of Southeast Asia, Australia, and the Pacific Islands
- Appearance: Characterized by shiny, bright green fronds with wavy, crested edges that grow in a rosette pattern. The central rosette resembles a bird’s nest, lending the plant its name.
Choosing the Right Location
-
Light Requirements:
- Prefers bright, indirect sunlight. Direct sun can scorch the delicate fronds, causing browning and damage.
- If natural light is insufficient, consider using grow lights to mimic the soft, filtered sunlight of its natural habitat.
-
Room Placement:
- Ideal locations include bathrooms and kitchens due to higher humidity levels.
- Place it near a north- or east-facing window for optimal light.
Watering Guidelines
-
Consistency:
- Keep the soil consistently moist but avoid oversaturation.
- Test the soil with your finger; if the top inch feels dry, it’s time to water.
-
Watering Method:
- Use room-temperature water to avoid shocking the roots.
- Pour water gently at the base of the plant, ensuring the crown stays dry to prevent rot.
-
Best Practices:
- Water less frequently during colder months when the plant’s growth slows.
- Use distilled or rainwater if your tap water is high in minerals, which can lead to leaf spotting.
Soil and Potting Mix
-
Preferred Mix:
- A well-draining, peat-based soil mix works best. Combine standard potting soil with components like perlite, orchid bark, or coco coir to ensure aeration and drainage.
-
Pot Type:
- Choose a container with ample drainage holes to prevent water from accumulating at the bottom.
- Consider using terracotta pots to allow excess moisture to evaporate through the walls.
Fertilization Routine
-
Type of Fertilizer:
- A balanced, water-soluble houseplant fertilizer with an N-P-K ratio (e.g., 10-10-10) is ideal.
-
Application Schedule:
- Fertilize every 4-6 weeks during the active growing season (spring and summer).
- Reduce fertilization in fall and winter when growth is naturally slower.
-
Application Tips:
- Dilute the fertilizer to half strength to avoid over-fertilizing, which can burn the plant’s roots.
Temperature and Humidity Requirements
-
Temperature Range:
- Thrives in temperatures between 60°F-75°F (15°C-24°C). Avoid exposure to temperatures below 50°F (10°C).
-
Humidity:
- As a tropical plant, it requires high humidity levels (ideally 60% or more).
-
Boosting Humidity:
- Use a humidifier in dry rooms.
- Place the pot on a tray filled with water and pebbles to create a humid microclimate.
- Group with other plants to collectively increase humidity.

Repotting and Pot Selection
-
When to Repot:
- Typically, repot every 2-3 years or when the plant outgrows its current pot.
-
Steps for Repotting:
- Choose a slightly larger pot with drainage holes.
- Remove the plant gently, being careful not to damage the roots.
- Place it in fresh potting mix, ensuring the crown sits slightly above the soil line.
- Water lightly after repotting to settle the soil.
-
Pot Material:
- Plastic or ceramic pots work well, but terracotta can help manage moisture for those prone to overwatering.
Pruning and Maintenance
-
Why Prune?:
- Pruning helps remove dead or damaged fronds and encourages healthy growth.
-
How to Prune:
- Use clean, sharp scissors or pruning shears.
- Trim dead or yellowing fronds at the base without disturbing healthy parts.
-
Cleaning Tips:
- Dust fronds gently with a damp cloth to keep leaves free of debris and ensure efficient photosynthesis.
Common Problems and Solutions
-
Brown Leaf Tips:
- Cause: Low humidity or inconsistent watering.
- Solution: Increase humidity and check your watering routine.
-
Yellowing Leaves:
- Cause: Overwatering or nutrient deficiencies.
- Solution: Let the soil dry out slightly and adjust fertilization.
-
Slow Growth:
- Cause: Insufficient light.
- Solution: Move to a brighter spot with filtered light.
Pest Control Tips
-
Common Pests:
- Watch for mealybugs, scale, and spider mites.
-
Natural Remedies:
- Wipe fronds with neem oil or use insecticidal soap.
-
Routine Checks:
- Inspect your plant weekly for early signs of infestation.
FAQs
Q1: Can I grow my Crested Japanese Bird's Nest Fern outdoors?
- A: Yes, in climates where temperatures stay within its preferred range and it is protected from direct sunlight.
Q2: What happens if the fronds start to droop?
- A: This could indicate overwatering or a lack of humidity. Check soil moisture and boost the surrounding humidity.
Conclusion
Maintaining a Crested Japanese Bird's Nest Fern can be rewarding when you follow the right care steps. By providing appropriate light, water, humidity, and occasional fertilization, you can enjoy a thriving plant that enhances the beauty of your home.

